There’s a special kind of magic in harvesting your own food. The snap of a freshly picked bean, the sun-warmed sweetness of a cherry tomato, the vibrant flavor of herbs snipped moments before they hit the plate—these are experiences that connect us to our food and the earth. For many apartment dwellers, this can feel like a distant dream. But what if your greatest untapped resource for this farm-to-table experience is right outside your sliding glass door? Learning how to grow vegetables on your balcony is the key to transforming that small outdoor space into your own personal, productive micro-farm.
This isn’t just about produce; it’s about creating a new routine. It’s about the quiet morning ritual of watering your plants, the satisfaction of watching a seed sprout into a provider of nourishment, and the simple joy of creating a green, living oasis in the middle of a bustling city. This comprehensive guide will walk you through every step of the journey, from assessing your balcony’s potential to harvesting your first delicious crop.

Table of Contents
The Balcony Farm Advantage: More Than Just Food
Before we get our hands dirty, let’s talk about the incredible benefits of dedicating a corner of your home to growing food. It’s a practice that aligns perfectly with a more mindful, “unplugged” lifestyle.
- Unbeatable Flavor and Freshness: The moment a vegetable is picked, its sugars begin to convert to starch, and its nutritional value starts to decline. The flavor of a carrot pulled from your own pot and eaten minutes later is a revelation.
- Complete Food Transparency: You are the farmer. You know exactly what has (and hasn’t) gone into your food. No mysterious pesticides, no long-distance shipping—just clean, honest produce.
- A Mindful Hobby: Tending to a garden, even a small one, forces you to slow down and observe. It’s a meditative practice that has been proven to reduce stress and improve mental well-being.
- Reduces Food Waste: How often have you bought a whole bunch of herbs only to use a fraction before it wilts? With a balcony garden, you snip exactly what you need, when you need it.
- Adds Life and Beauty: A thriving vegetable garden is beautiful. The lush green leaves, colorful fruits, and cheerful flowers will transform a sterile balcony into a vibrant, welcoming retreat.
Step 1: Assess Your Balcony’s Potential
Success in gardening is all about working with nature, not against it. Before buying a single seed, become a detective and analyze your specific space.
Sunlight is King
This is the most critical factor for growing vegetables. Most fruiting vegetables (like tomatoes, peppers, and cucumbers) are sun-worshippers.
- How to “Map Your Sun”: Take a day to observe your balcony. Note what time the sun first hits it and what time it leaves.
- Full Sun (6-8+ hours): This is the ideal scenario for the widest variety of vegetables. A south or west-facing balcony is most likely to receive full sun.
- Part Sun (4-6 hours): Don’t despair if you have less sun! This is perfect for a huge range of leafy greens and some root vegetables. An east-facing balcony often gets great morning sun.
- Shade (Less than 4 hours): While challenging for most vegetables, you can still grow some herbs and specific greens.
Space, and More Importantly, Weight
Your balcony is not an in-ground garden. It has physical limitations that you must respect for safety.
- Weight Limits: Pots filled with wet soil are incredibly heavy. If you plan on having many large containers, check your building’s regulations or consult with a professional. To be safe, opt for lightweight plastic or fabric containers over heavy ceramic or concrete ones.
- Go Vertical: Floor space is at a premium. Think upwards! A simple trellis, a wall-mounted planter, or railing boxes can dramatically increase your growing area without adding much weight.
Wind and Water
- Wind: Balconies, especially on higher floors, can act like wind tunnels, drying out and damaging plants. If your balcony is very windy, consider creating a windbreak with bamboo screening or choosing sturdier, low-growing plants.
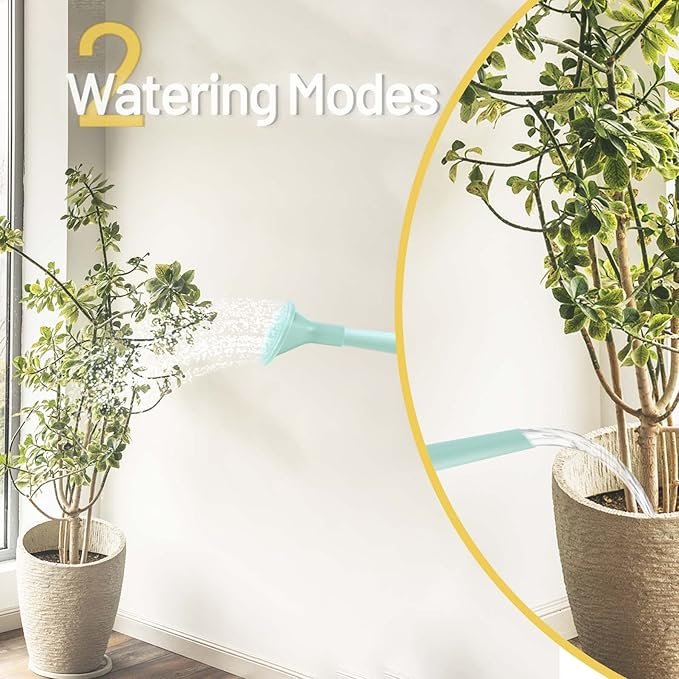
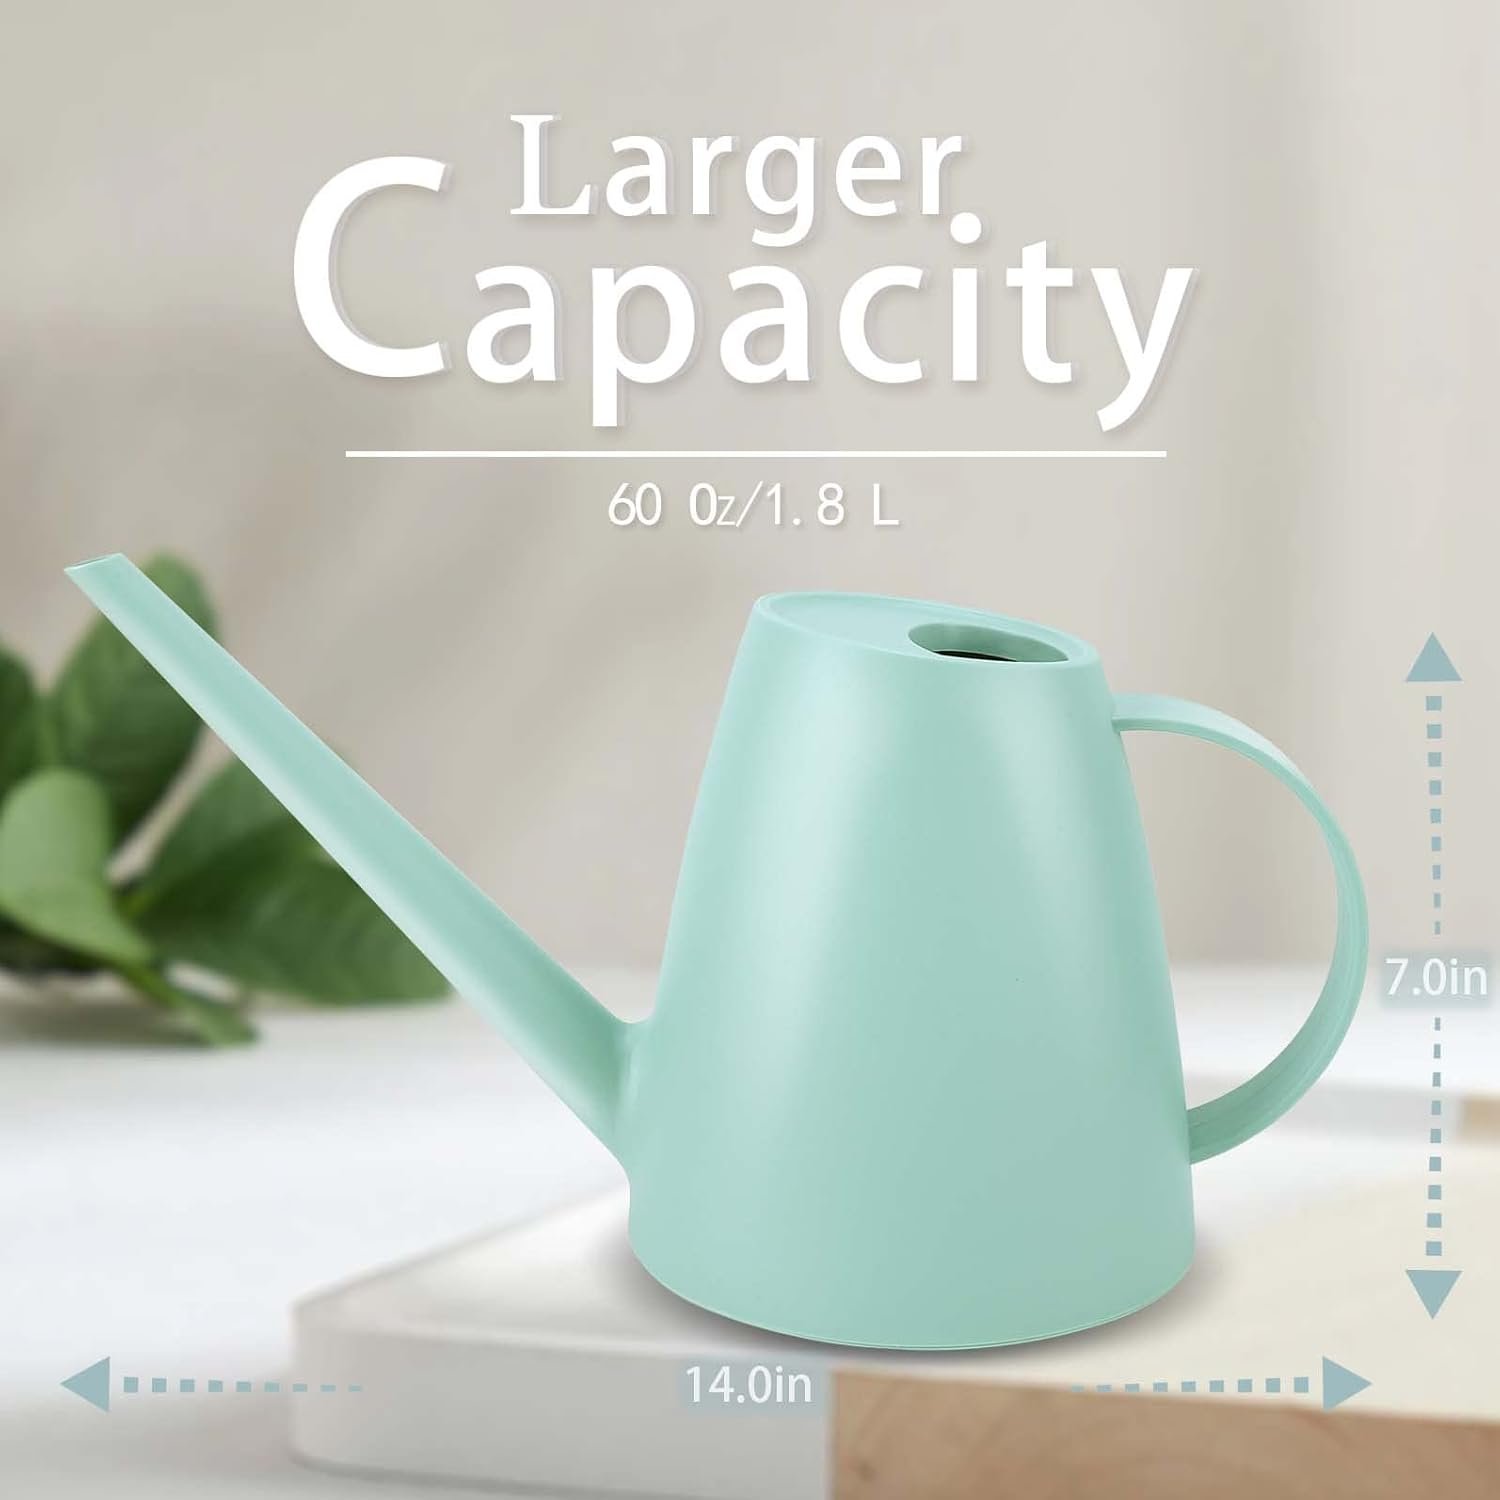
- Water Access: You will be watering often. Make sure you have a convenient way to get water to your plants. A long-spout watering can is a must, and a lightweight, expandable coiled hose can be a lifesaver.
Step 2: Gear Up with the Right Supplies
With your assessment complete, it’s time for the fun part: gathering your gear.
Choosing the Right Containers
The golden rule of container gardening is drainage. Every pot must have holes in the bottom. The second rule is that bigger is almost always better, as larger pots hold more soil and moisture, creating a more stable environment for roots.
- Fabric Grow Bags: A fantastic lightweight option. They promote healthy roots through “air-pruning” and make overwatering nearly impossible.
- Plastic Pots: Inexpensive, lightweight, and great at retaining moisture. Choose lighter colors, as dark plastic can overheat in the sun.
- Terracotta: Classic and beautiful, but they dry out very quickly and are heavy. Best for drought-tolerant herbs.
- Self-Watering Planters: These have a built-in water reservoir, making them a great choice for busy people or thirsty plants like tomatoes.
Container Size Guide (Minimums):
- 1-2 Gallons: Herbs, Radishes, Lettuce
- 3 Gallons: Bush Beans, Carrots, Spinach
- 5-7 Gallons: Tomatoes, Peppers, Cucumbers, Kale
- 10+ Gallons: For multiple plants or very large varieties.
The Perfect Potting Mix
Do not use soil from a garden or your yard. It is too dense, will compact in pots, drains poorly, and contains pests and weed seeds. You need a dedicated potting mix, which is a soil-less medium. Look for a mix containing:
- A Base: Peat moss or coco coir for moisture retention.
- Aeration: Perlite or vermiculite to keep the mix light and airy.
- Nutrition: Compost or organic matter to provide essential nutrients.
Trellises and Supports
To grow vining vegetables like tomatoes, cucumbers, peas, and pole beans, you’ll need to provide support. A simple bamboo stake, a wire tomato cage, or a trellis leaned against a wall will allow these plants to grow upwards, saving space and improving air circulation.
Step 3: Choose the Best Vegetables for Your Balcony
Now, let’s pick your players! Here are some of the most reliable and productive vegetables perfect for container life.
For the Sun-Drenched Balcony (6+ hours of sun)
- Cherry Tomatoes: Far more manageable and productive in pots than their larger cousins. Look for determinate (bush) varieties like ‘Patio Princess’ or ‘Tiny Tim’ that grow to a compact size.
- Peppers (Hot & Sweet): Most pepper plants are naturally compact and thrive in the heat. A single, healthy plant can be incredibly productive in a 5-gallon pot.
- Bush Beans: Easy to grow from seed and they produce a satisfying crop without needing a massive trellis.
- Cucumbers: Look for varieties specifically bred for containers, such as ‘Spacemaster’ or ‘Patio Snacker’. Give them a trellis to climb.
For the Partially Sunny Balcony (4-6 hours of sun)
- Lettuce & Salad Greens: Perfect for part-sun. Choose “cut-and-come-again” loose-leaf varieties. You can harvest the outer leaves, and the plant will keep producing for weeks.
- Spinach: A nutrient-dense green that loves cooler weather and appreciates some afternoon shade.
- Kale & Swiss Chard: These are incredibly hardy and productive. A few plants will give you a steady supply of greens for months on end. They can tolerate full sun but do just fine in part sun.
- Carrots: Choose shorter, round, or globe varieties like ‘Paris Market’ or ‘Thumbelina’ that don’t need deep soil to develop.
- Radishes: The ultimate beginner’s vegetable. They can go from seed to harvest in under a month, offering a quick and encouraging win.
Step 4: Planting, Care, and Your New Daily Routine
With your supplies and plants chosen, it’s time to bring your garden to life.
Planting: Seeds vs. Starters
- Seeds: Inexpensive and offer more variety. Easy-to-start seeds include beans, peas, radishes, and lettuce.
- Starter Plants (Seedlings): Buying young plants from a nursery gives you a huge head start. This is the recommended route for beginners growing longer-season crops like tomatoes and peppers.
Watering: The #1 Daily Task
Containers on a sunny, windy balcony dry out incredibly fast.
- Check Daily: In the heat of summer, you will likely need to water once a day, sometimes even twice for smaller pots.
- Use the Finger Test: Stick your finger two inches into the soil. If it’s dry, it’s time to water. If it’s damp, check again later.
- Water Deeply: When you water, do so until water runs freely from the drainage holes. This encourages deep, strong root growth.
Feeding: Essential for Container Veggies
Watering constantly flushes nutrients out of the soil. You will need to replenish them.
- Start a Routine: About a month after planting, begin feeding your plants.
- Use a Liquid Fertilizer: An all-purpose liquid fertilizer mixed with water is the easiest method for beginners. Feed your heavy-fruiting plants like tomatoes every 2-3 weeks during the growing season.
Having the right tool for the job makes any routine easier. A good watering can or a compact hose is a must-have.
Your First Harvest Awaits
Learning how to grow vegetables on your balcony is more than a hobby; it’s a lifestyle shift. It’s a commitment to a delicious, rewarding routine that connects you to your food and offers a daily dose of nature-based therapy. Start small, celebrate your successes, and don’t be afraid to learn from your failures. The feeling of walking out to your balcony to harvest ingredients for your dinner is a unique and profound joy that every apartment dweller can and should experience.
What vegetable are you most excited to try growing on your balcony first? Share your plans, questions, and dreams in the comments below!