In a world saturated with digital noise and endless notifications, the yearning for a tangible connection to the earth has never been stronger. We scroll, we tap, we type—but when was the last time we truly created something with our own two hands? Something born not of pixels and code, but of soil, water, and ancient tradition? This guide is your invitation to step away from the screen and into the garden to learn the beautiful, meditative craft of weaving a willow trellis.
This isn’t just about building a support for your climbing roses or sweet peas. It’s about participating in a practice that is thousands of years old, using a material that is both resilient and forgiving. It’s about the rhythmic motion of the weave, the scent of damp willow, and the immense satisfaction of watching a functional piece of art take shape before your eyes. This is the essence of an unplugged routine—a deliberate choice to engage in a mindful activity that nourishes the soul as much as it beautifies the garden.
Ready to weave your own story of connection and creativity? Let’s begin.
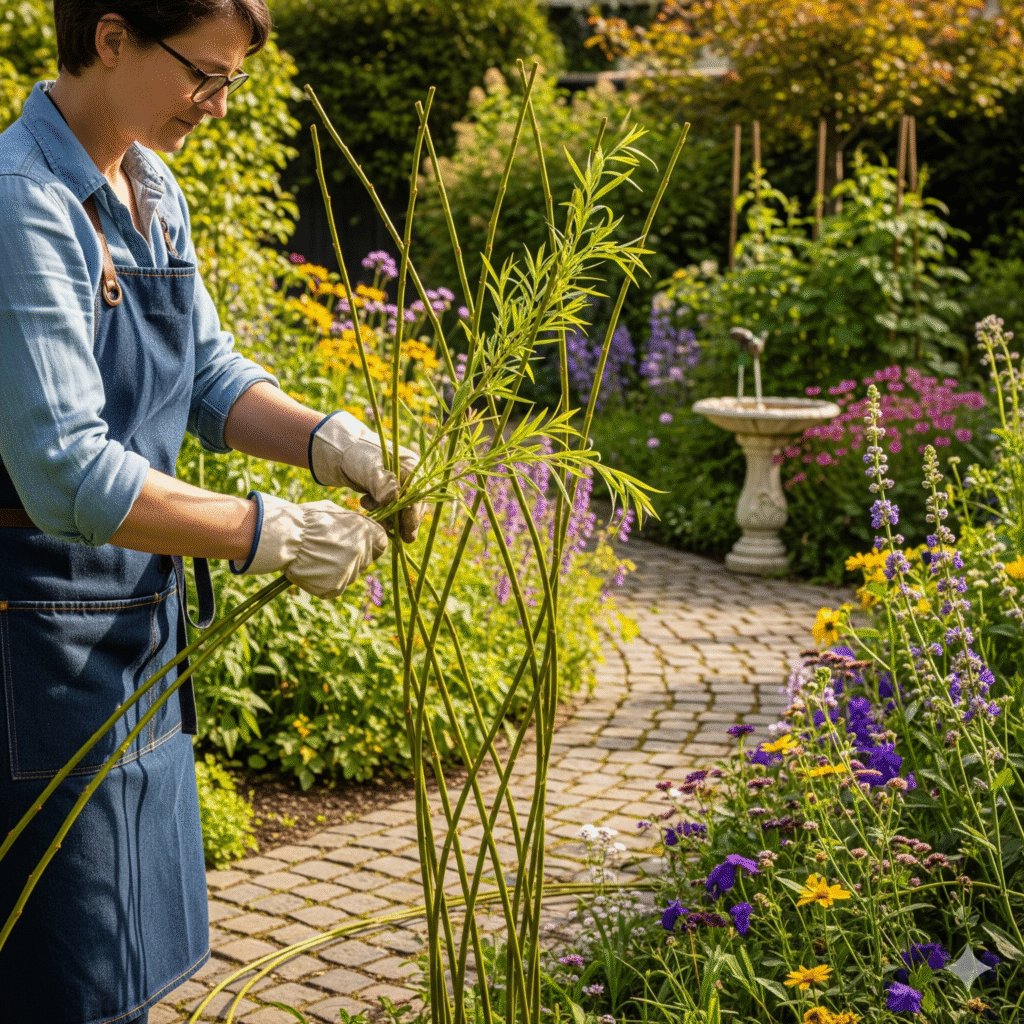
Table of Contents
Why Weaving a Willow Trellis is the Perfect Unplugged Activity
Before we dive into the “how-to,” let’s explore the “why.” In our fast-paced lives, the simple, slow craft of willow weaving offers a powerful antidote to modern anxieties. It’s an activity that demands presence, patience, and a gentle touch.
- A Gateway to Mindfulness: The repetitive nature of weaving—passing a supple willow rod over and under the upright stakes—creates a calming rhythm. This focus on the task at hand helps quiet the mental chatter, reducing stress and promoting a state of mindful awareness. You’re not just building a trellis; you’re building a moment of peace.
- Deepening Your Connection with Nature: Whether you forage for your own willow, grow it in your backyard, or source it from a local farm, the process connects you directly to the natural world. You’ll learn to appreciate the unique characteristics of each rod—its color, its thickness, its flexibility. It’s an intimate partnership with a natural, renewable material.
- The Joy of Tangible Accomplishment: Unlike the fleeting satisfaction of clearing an email inbox, a completed willow trellis is a lasting testament to your skill and effort. It stands proudly in your garden, a physical reminder that you can create beauty and function from the simplest of materials. This tangible success is incredibly grounding and empowering.
- Embracing Sustainability and Imperfection: A handwoven willow trellis is inherently eco-friendly. It’s biodegradable, plastic-free, and provides a perfect habitat for beneficial insects. Furthermore, it teaches us to embrace the beauty of imperfection. No two handmade trellises will ever be identical. Each one carries the unique mark of its creator, a story woven into its very structure.
Gathering Your Materials: The Weaver’s Toolkit
One of the most beautiful aspects of weaving a willow trellis is the simplicity of the tools required. Nature provides the primary ingredient; you just need a few basic items to help shape it.
1. The Willow
The star of the show! The success of your project depends on having the right kind of willow.
- Types of Willow: Look for varieties known for their long, flexible, and unbranched stems. Species like Salix viminalis (Common Osier), Salix purpurea (Purple Osier), and Salix triandra (Almond Willow) are traditional favorites for weaving. If you’re foraging, look for new growth from the base of willow trees, which is often the straightest and most pliable.
- Sourcing Your Willow:
- Grow Your Own: For the dedicated unplugged enthusiast, planting your own willow bed (a “coppice”) provides a sustainable, yearly supply.
- Purchase from a Supplier: Many farms specialize in growing willow for basketry and weaving. A quick online search for “basket weaving willow for sale” will yield several reputable suppliers in the US.
- Forage Responsibly: If you have access to wild willow, always practice responsible harvesting. Never take more than 10% from a single plant, get permission if you’re on private land, and make clean cuts with sharp pruners to ensure the plant’s health.
- Preparation is Key: The Soaking ProcessThis is the most critical step for successful weaving. Dried willow is brittle and will snap. Soaking rehydrates the rods, making them wonderfully pliable.
- Rule of Thumb: Soak the willow for approximately one day for every foot of its length. For example, a 6-foot rod needs to soak for about 6 days.
- The Soaking Vessel: A bathtub, a stock tank, a child’s wading pool, or even a long ditch lined with a tarp will work. The goal is to keep the entire length of the rods submerged. Weigh them down with bricks or stones.
- How to Know It’s Ready: A properly soaked rod should be able to bend 90 degrees around your finger without cracking or splintering. If it’s still stiff, give it another day.
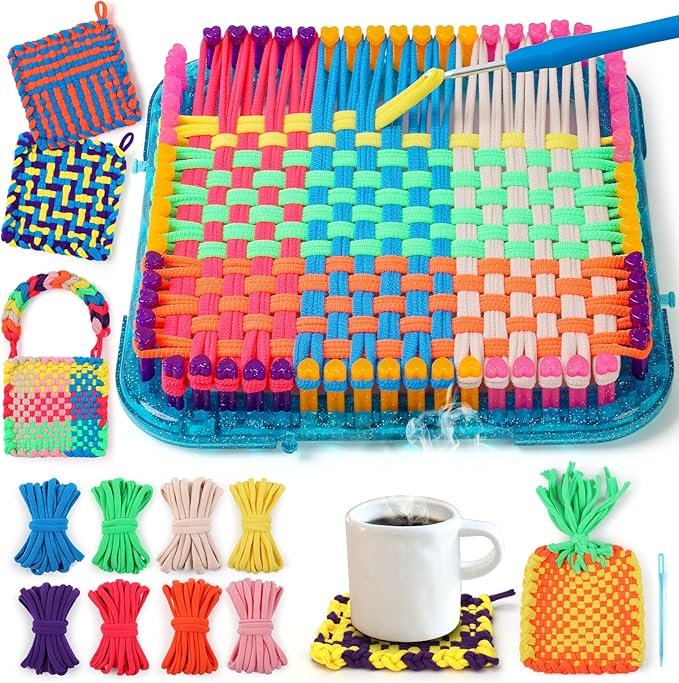
If you’re in an urban area or simply want to get started right away without the wait of soaking dried willow, a beginner’s weaving kit can be an excellent option.These kits often come with pre-soaked, ready-to-use rods and instructions.
2. Essential Tools
- Secateurs or Sharp Pruners: For making clean cuts on the willow rods.
- Garden Twine or Jute: For temporarily securing parts of the weave and for the final tying-off.
- Measuring Tape: To ensure your uprights are spaced evenly.
- A “Bodkin” or Metal Spike (Optional): A pointed tool that helps create openings in a tight weave to insert new rods. A thick screwdriver can work in a pinch.
- Gloves (Optional): To protect your hands from scratches and calluses.
Your Step-by-Step Guide to Weaving a Willow Trellis
Now, with your supple willow and simple tools at hand, it’s time for the magic to begin. We’ll focus on creating a classic fan-shaped trellis, a perfect design for beginners that looks stunning against a wall or fence.
Step 1: Planning Your Design and Location
Decide where your trellis will live. Will it be in a large pot on the patio or directly in a garden bed? The location determines how you will set your foundation. For this guide, we’ll assume you are setting it directly into the ground. A good starter size is about 3-4 feet wide at the top and 4-5 feet tall.
Step 2: Selecting and Planting the Uprights
Your uprights form the skeleton of the trellis. They need to be the thickest, straightest, and sturdiest rods you have.
- Select the Rods: Choose 5 to 7 of your best rods for the uprights. Trim the thick bottom ends to a point with your secateurs to make them easier to push into the soil.
- Set the Foundation: Mark a straight line in the soil where you want the base of your trellis to be.
- Plant the Uprights: Firmly push the pointed ends of the rods into the ground, about 6-8 inches deep. Space them evenly, about 4-6 inches apart along the line you marked. The center rod should be the most vertical, with the outer rods angled slightly outwards to begin creating the fan shape.
Step 3: Creating the Base Weave (The “Wale”)
The first few rows of weaving are the most important, as they lock the uprights in place and establish the structure’s integrity. This is often done with a technique called a “three-rod wale.”
- Select Three Weavers: Choose three long, slender, and flexible rods for your first weavers.
- Insert the Weavers: Insert the thick end of these three weavers into the ground next to the first three uprights on the left side.
- Begin the Weave:
- Take the leftmost weaver (let’s call it Weaver 1). Bend it in front of the first two uprights (Upright 1 and Upright 2) and behind the third upright (Upright 3). Leave it there.
- Now take the new leftmost weaver (Weaver 2). Bend it in front of the next two uprights (Upright 2 and Upright 3) and behind the fourth upright (Upright 4).
- Continue this pattern: always take the leftmost weaver, go in front of two uprights, and behind one.
- Compress the Weave: After each pass, use your hands to gently but firmly push the weave down towards the ground. This keeps the structure tight and strong.
- Complete 3-4 Rows: Repeat this process for three or four rows to create a very strong, braided-looking base for your trellis.
Step 4: The Main Weaving Process
With the base secure, you can switch to a simpler, faster weaving pattern.
- Simple Weave: Take a single long weaver. Start at one end of the trellis and weave it in an alternating pattern: in front of the first upright, behind the second, in front of the third, and so on, until you reach the other side.
- The Return Journey: When you get to the last upright, simply bend the weaver around it and start back in the opposite direction, again alternating in front and behind. The pattern will be the reverse of the row below it.
- Adding a New Weaver: When your weaving rod becomes too short or too thin to continue, simply leave its end tucked behind an upright. Start a new weaver in the same spot, laying its thick end alongside the end of the old one for a few inches to lock it in place. Continue the pattern as before. Try to stagger where you start new weavers to avoid creating a weak point.
- Shaping the Fan: As you weave higher up the trellis, gently pull the outer uprights further apart with each row. This will naturally create the elegant fan shape. Use the tension of your weavers to hold the uprights in their desired position.
Step 5: Finishing and Securing Your Trellis
Once your trellis has reached the desired height, it’s time to finish it off neatly.
- Final Rows: Just as you did at the bottom, finishing with a three-rod wale at the top can create a beautiful, cohesive look and add extra strength.
- Tying Off: Bend the tops of the uprights towards the center or tie them together with jute twine for a decorative and secure finish.
- Trimming: Use your secateurs to carefully trim all the little ends of the weavers that are sticking out. This gives your trellis a clean, professional appearance.
Caring for Your Masterpiece and Choosing Companion Plants
Your willow trellis is a living structure that will change over time. It will gradually dry out, losing its greenish hue and settling into a lovely silver-brown or deep red-brown patina, depending on the willow variety. A well-made trellis can last for several years.
There’s no need to treat it with sealants or chemicals. Its beauty lies in its natural, ephemeral quality.
Perfect Plant Pairings:
The open, airy design of a willow trellis is ideal for delicate climbers that won’t overwhelm it.
- Annual Climbers: Sweet Peas, Morning Glories, Black-Eyed Susan Vines, Climbing Nasturtiums.
- Perennial Vines: Clematis (especially less aggressive varieties), Climbing Roses (train them carefully), Jasmine.
- Edibles: Pole Beans, Sugar Snap Peas, and even small-fruited cucumbers.
Troubleshooting Common Weaving Woes
Don’t be discouraged if your first attempt isn’t perfect! Weaving is a skill that improves with practice. Here are some common issues and how to fix them:
- Problem: My willow keeps snapping!
- Solution: It’s almost certainly not soaked enough. Return the rods to the water for another day or two and try again.
- Problem: The weave is loose and gappy.
- Solution: You aren’t compressing the rows enough. After every row, take a moment to firmly push it down against the row below it. A tight weave is a strong weave.
- Problem: The trellis feels wobbly.
- Solution: The uprights may not be deep enough in the ground, or your base weave (the wale) isn’t tight enough. Ensure you have a solid foundation before you build upwards.
Your Journey Begins Now
You’ve just walked through the ancient process of weaving a willow trellis. But reading about it is one thing; the real magic happens when you pick up the willow yourself. You’ll feel the smooth bark under your fingers, learn the unique bend of each rod, and find your own rhythm in the weave.
This is more than just a garden DIY project. It is an act of defiance against a world that demands we move faster. It’s a chance to slow down, to create, and to connect with a skill our ancestors knew intimately. It’s a cornerstone of a truly unplugged life.
We invite you to join the movement. Create your own willow trellis and share your journey with our community. Did you find the process meditative? What challenges did you encounter? What will you grow on your beautiful, handmade creation?
Leave a comment below or tag us on social media with your photos using the hashtag #UnpluggedRoutine. Let’s grow a more mindful world, one willow trellis at a time.