Want to build strength but your wallet says ‘no’ to that gym membership and your schedule screams at the thought of a commute? Does the idea of walking into a packed gym, surrounded by complex machines and super-fit people, feel more intimidating than inspiring? You’re not alone. So many of us put off our fitness goals because the path seems too complicated, too expensive, or too overwhelming.
What if I told you that you already own a complete set of workout equipment, cleverly disguised as everyday objects?
It’s true. We often think that getting fit requires a specific environment and a significant financial investment. But the secret to building a stronger, healthier body is hiding in your pantry, your closet, and your living room. This guide is your treasure map to uncovering that potential, focusing on the simple, powerful philosophy of using what you already have. We’re going to explore the incredibly effective world of using household items for resistance training, turning your home into your own personal, budget-friendly gym.

Table of Contents
Why You Don’t Need Fancy Equipment to Build Muscle
Let’s get one thing straight: your muscles are brilliant, but they can’t tell the difference between a shiny $50 dumbbell and a gallon of milk. They only understand one thing: resistance. When you challenge your muscles by making them work against a force, they experience tiny micro-tears. As your body repairs these tears, the muscle fibers grow back thicker and stronger. That’s muscle growth in a nutshell.
This process works whether the force comes from a barbell or a backpack full of books. The key principle that makes this magic happen is called progressive overload. It simply means that you must gradually increase the demand on your muscles over time. If you always lift the same weight for the same number of reps, your body adapts and has no reason to get stronger. With household items, progressive overload is easy: you can add another book to your backpack, put a little more water in your jug, or do one more repetition than you did last week.
Furthermore, working out with unconventional objects can enhance your mind-muscle connection. When you’re carefully balancing a sack of potatoes, you’re forced to focus intently on the muscles you’re using to control the weight. This focused concentration can lead to more effective muscle activation and better results, proving that the quality of your attention is just as important as the quantity of weight.1
The benefits of this DIY approach are incredible:
- It’s FREE: You’ve already bought and paid for this “equipment.”
- It’s Convenient: Your gym is open 24/7, with no travel time required.
- It Sparks Creativity: It turns fitness into a fun, problem-solving game.
The Top 10 Household Items for Your DIY Workout
Ready to see your home in a whole new light? Here are ten common items you can use to get a fantastic full-body workout.
1. Water Jugs or Milk Gallons
- What it Replaces: Dumbbells, Kettlebells.
- Best For: Bicep Curls, Overhead Press, Goblet Squats, Farmer’s Carries, and Bent-Over Rows. You can also try Lawnmower Rows by placing one hand on a chair for support, holding the jug in the other, and pulling it up towards your chest as if starting a lawnmower.
- Pro-Tip: A full gallon of water weighs about 8.6 pounds. For a heavier, more stable weight, fill it with sand or gravel. You can also customize the weight by filling it halfway or three-quarters full, allowing for perfect progressive overload.
2. Backpack
- What it Replaces: Weighted Vest, Ruck Plate.
- Best For: Adding resistance to Squats, Lunges, Push-Ups, and Planks. Try Weighted Glute Bridges by lying on your back with your knees bent and placing the backpack on your hips before thrusting upwards.
- Pro-Tip: Distribute the weight evenly inside the pack. Wrap harder items like books or cans in a towel to prevent them from digging into your back. Cinch the straps tight so the pack doesn’t shift around during your movements.
3. Canned Goods
- What it Replaces: Light Dumbbells (1-2 lbs).
- Best For: Lateral Raises, Front Raises, and Tricep Extensions. They’re also great for Bicep Hammer Curls (holding the cans vertically) to target a different part of the bicep.
- Pro-Tip: Canned goods are perfect for high-repetition workouts and for focusing on muscle endurance. Use cans with ridges to improve your grip strength. Grab two cans of the same size and weight to ensure your workout is balanced.
4. A Sturdy Chair or Stool
- What it Replaces: Workout Bench.
- Best For: Tricep Dips, Bulgarian Split Squats, Step-Ups, and Incline Push-Ups (placing your hands on the seat), which are a great modification for those who can’t yet do a full push-up.
- Pro-Tip: Safety is paramount here. Never use a chair with wheels. Always place your chair against a wall to prevent it from sliding. Before committing to an exercise, gently test its stability with your full body weight.
5. A Bath Towel
- What it Replaces: Resistance Bands, Grip Trainers.
- Best For: Creating isometric tension in exercises like Towel Rows and Bicep Curls. You can also perform Towel Leg Curls by lying on your stomach, looping the towel around one ankle, and pulling on the ends with your hands to create resistance as you bend your knee.
- Pro-Tip: The key is to constantly pull the towel apart as you perform the movement. This creates constant tension, engaging your muscles through the entire range of motion and delivering a surprising burn without any weight at all.
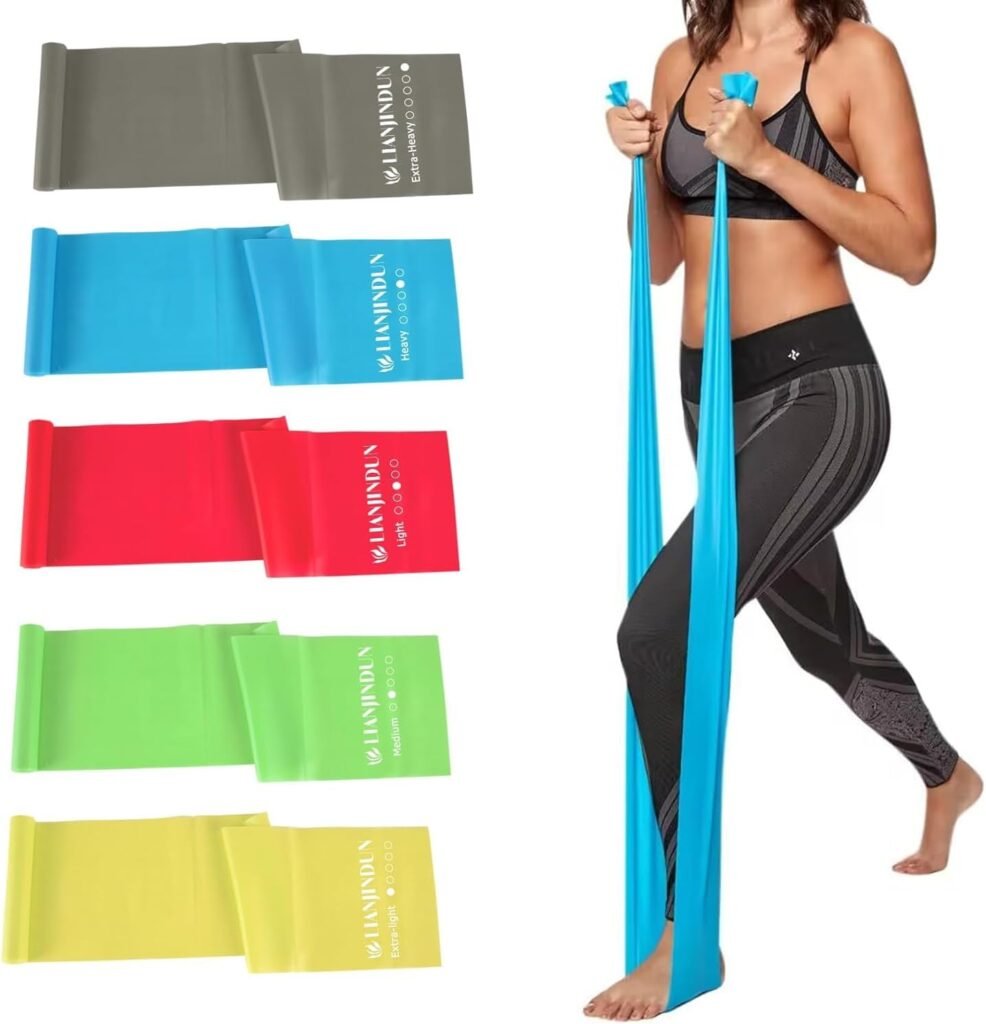
“Mastering tension with a towel is a great starting point. When you feel ready for the next step, a set of resistance bands with handles can be a fantastic and affordable upgrade. They provide consistent tension through every movement and come in various resistance levels to grow with you.”
6. A Sack of Potatoes or Rice
- What it Replaces: Sandbag, Medicine Ball.
- Best For: “Sandbag” Squats, Overhead Lifts, and Weighted Carries. Try Bear Hug Squats by hugging the bag tightly to your chest as you squat down, which seriously engages your core and upper back.
- Pro-Tip: The shifting weight of the contents inside the bag forces your tiny stabilizing muscles to work overtime.3 This is fantastic for building real-world, functional core strength that helps with everything from carrying groceries to improving posture.
7. Heavy Books
- What it Replaces: A single weight plate.
- Best For: Holding against your chest for Weighted Crunches or Russian Twists. You can also hold one in each hand with your arms extended for a challenging Static Hold to build shoulder stability.
- Pro-Tip: A large hardcover textbook can weigh 5 pounds or more. This makes it a perfect tool to add a little extra fire to your core routine or to use for exercises where you need a flat, stable object.
8. Soup Ladle or Rolling Pin
- What it Replaces: Grip Strengthener.
- Best For: Improving grip strength, which is often a limiting factor in other lifts.
- Pro-Tip: Simply squeeze the handle as hard as you can for 10-15 seconds, rest, and repeat. A stronger grip will help you hold heavier “weights” (like those water jugs!) and perform more reps in exercises like rows and carries.
9. Paper Plates or Sliders
- What it Replaces: Exercise Sliders.
- Best For: Hamstring Curls, Reverse Lunges, and challenging core exercises like Mountain Climbers or Pikes.
- Pro-Tip: These work best on a carpeted surface. If you have hardwood or tile floors, wearing a fuzzy pair of socks or using small hand towels works just as well! The instability they create is amazing for core engagement.
10. A Wall
- What it Replaces: A Leg Press Machine (sort of!).
- Best For: Wall Sits and Wall Push-Ups, which are an excellent starting point for beginners to build upper body strength before progressing to the floor.
- Pro-Tip: For wall sits, slide down until your knees are at a 90-degree angle, as if you’re sitting in an invisible chair. Keep your back flat against the wall and your core engaged. Prepare to feel the burn in your quads!
Your Sample Full-Body Household Item Workout
Ready to put it all together? This simple circuit hits all your major muscle groups. But first, let’s get your body ready to work.
5-Minute Warm-Up:
- Jogging in place (1 minute)
- Jumping jacks (1 minute)
- Arm circles (30 seconds forward, 30 seconds back)
- Leg swings (30 seconds per leg, forward and back)
- Torso twists (1 minute)
The Circuit: Perform each exercise for 45 seconds, followed by 15 seconds of rest. Once you finish the last exercise, rest for 1 minute. Complete 3 rounds total.
- Goblet Squats (holding a water jug against your chest)
- Push-Ups (with a moderately weighted backpack on)
- Towel Rows (looping a towel around a sturdy, closed door’s handle)
- Chair Dips (with your hands on the edge of the chair, feet on the floor)
- Weighted Crunches (holding a heavy book on your chest)
- Farmer’s Carry (walking around the room holding heavy water jugs in each hand)
5-Minute Cool-Down: Hold each stretch for 30 seconds.
- Quad Stretch
- Hamstring Stretch
- Chest Stretch (in a doorway)
- Triceps Stretch
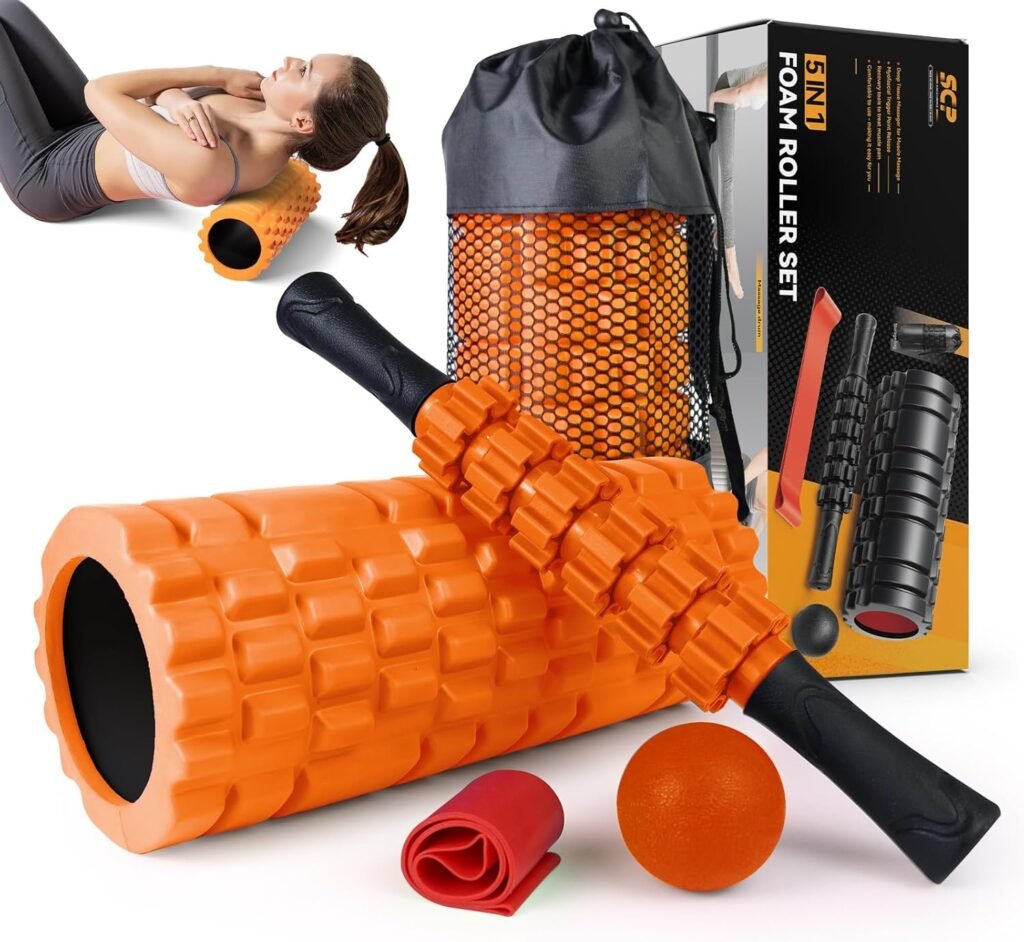
“Feeling a bit sore the next day is a good sign your muscles are getting stronger! To help speed up recovery and ease muscle tightness, a simple foam roller is one of the best tools you can own. A few minutes of rolling can make a world of difference.”
Safety First: 4 Rules for DIY Resistance Training
Working out at home is safe and fun, but keep these non-negotiable rules in mind.
- Inspect Your “Equipment”: Before you lift, check it. Make sure water jugs aren’t leaking, the chair is stable, and your backpack zippers are secure.
- Prioritize Form Over Weight: It is always better to lift a soup can with perfect form than a heavy sack of potatoes with bad form. If you’re unsure, watch a video of the exercise to understand proper technique.
- Start Light and Progress Slowly: Get comfortable with the movement first. Master the form before you think about making your DIY weight heavier.
- Listen to Your Body: There’s a difference between the satisfying burn of a working muscle and the sharp, sudden pain of an injury. If something hurts in a bad way, stop immediately. Rest is just as important as the workout itself.
Frequently Asked Questions (FAQ)
Is it really effective to work out with household items?
Absolutely! The key to building strength isn’t the equipment, but the principles of consistency and progressive overload. As long as you are challenging your muscles regularly and finding ways to make the exercises harder over time, you will see results.
How can I make my homemade weights heavier over time?
This is where creativity comes in! You can add more books or canned goods to your backpack. You can fill your water jugs with sand instead of water. You can progress from a two-handed exercise (like a squat) to a single-limb version (like a Bulgarian split squat) to increase the challenge on each muscle.
What is the most versatile household item for a workout?
The backpack is a strong contender. Its weight is almost infinitely adjustable, you can wear it in different positions to change the exercise, and nearly everyone has one.
Conclusion: Your Fitness Journey Starts at Home
You don’t need to step outside your front door to start building a stronger, more confident version of yourself. Your home is already filled with all the tools you need. By embracing the simple and effective method of using household items for resistance training, you remove the barriers of cost, time, and intimidation.
Fitness isn’t about having the best equipment; it’s about having the right mindset. It’s about consistency, creativity, and the decision to start today with what you have right now.
What’s the most creative item in your house you’re going to use for a workout? Let us know in the comments below!